How To Bridge the TokenUpdated 10 days ago
Before you can bridge your DIMO tokens to Coinbase, you’ll first need to transfer them to an external wallet on the Polygon network, such as MetaMask or Rainbow.
Step 1: Transfer Your DIMO Tokens to an External Wallet
- Open the DIMO app and go to the Rewards tab.
- Tap the Transfer button in the top-right corner.
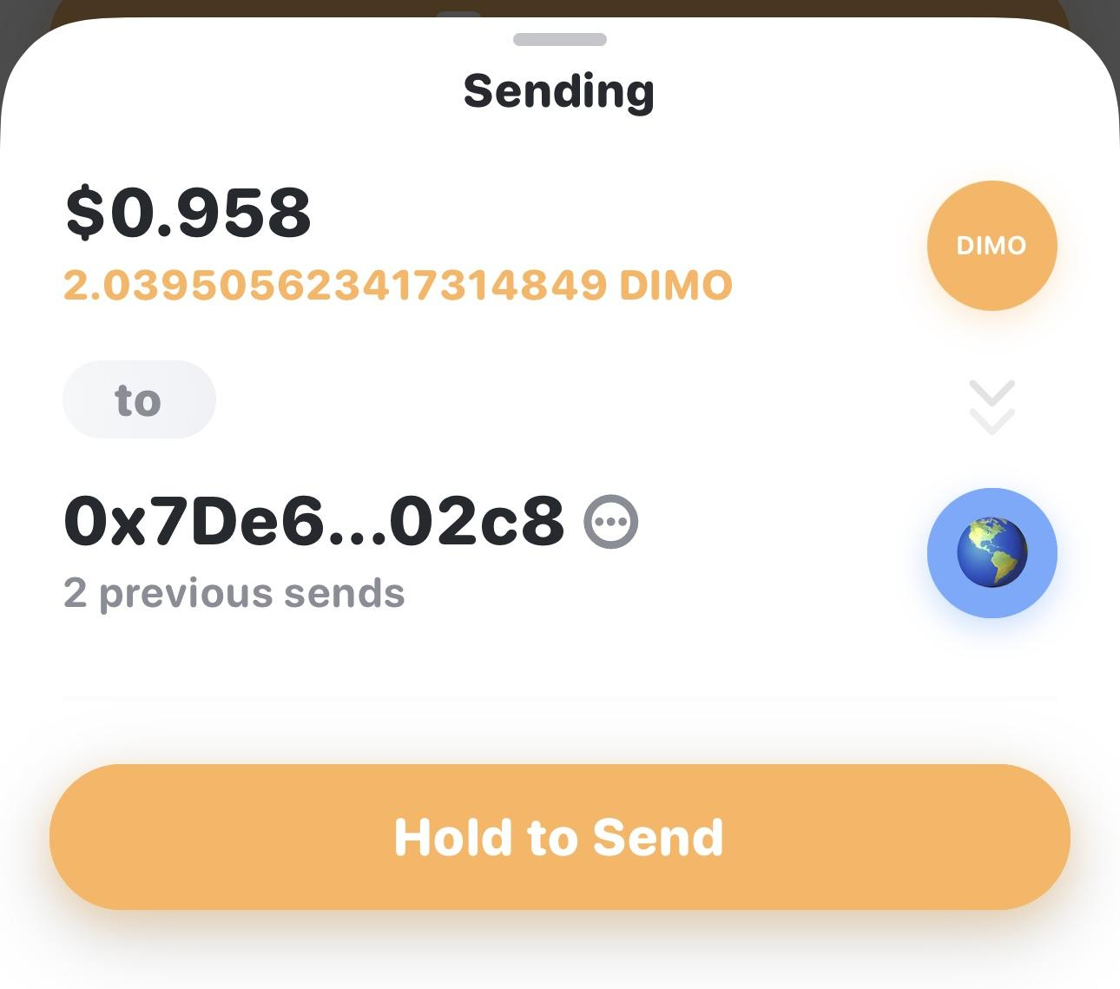
- Enter the amount of DIMO tokens you wish to transfer.
- Paste the recipient wallet address — this must be the wallet on the Polygon network that you’ll use to bridge the tokens.
⚠️ Important: Double-check that the wallet address is correct and is on the Polygon network. Sending to an incorrect address or wrong network could result in permanent loss of your tokens.
Troubleshooting Transfers
If you're unable to transfer your tokens, you may need to reset your passkey:
- Go to Account > Passkey > Reset Passkey in the DIMO app.
- Then try transferring the tokens again.
Step 2: Bridge to Coinbase
Once your DIMO tokens are in your external wallet on the Polygon network, you’re ready to bridge them to Coinbase.
Follow the steps below to bridge the token:
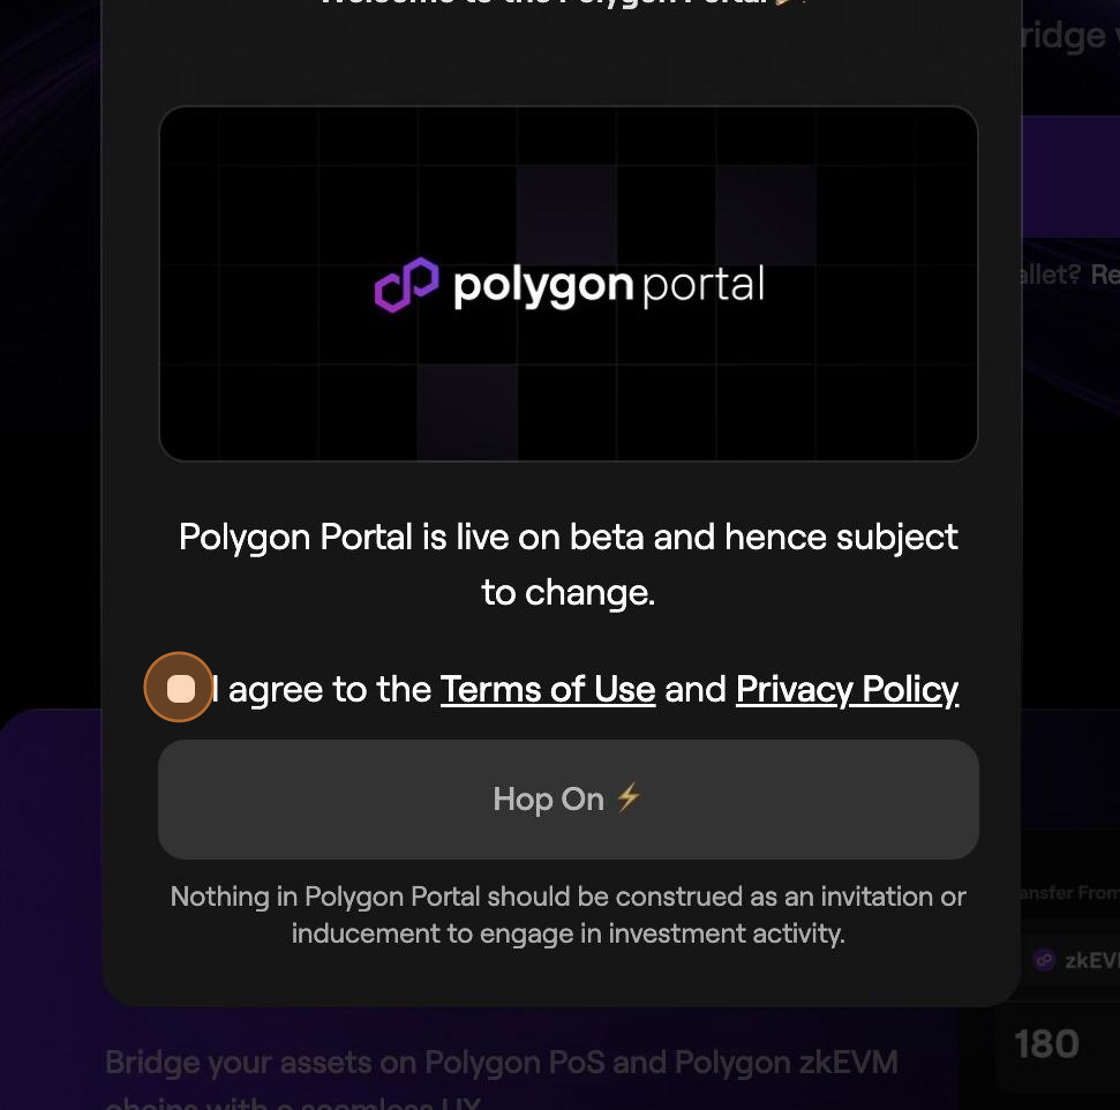
Step 1: Go to Polygon Portal
Step 2: Agree to Polygon Portals Terms of Use
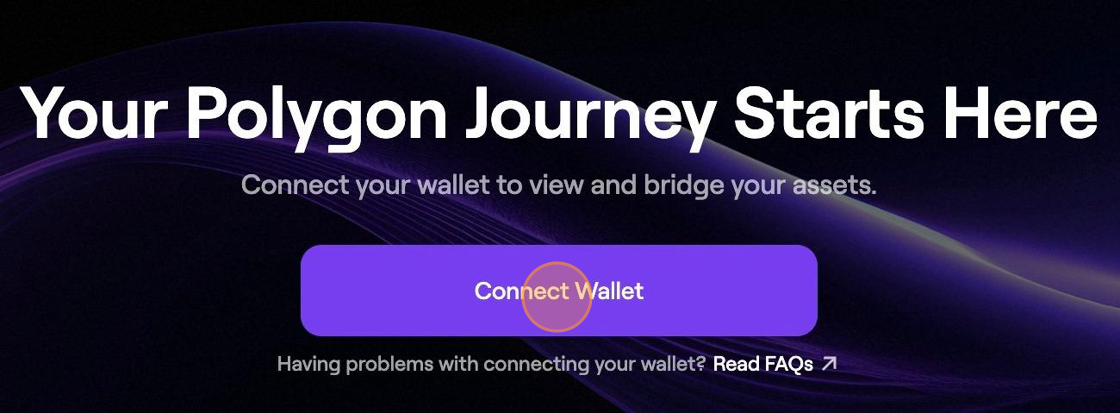
Step 3: Click "Connect Wallet"
Step 4: Select the wallet that holds your Polygon DIMO
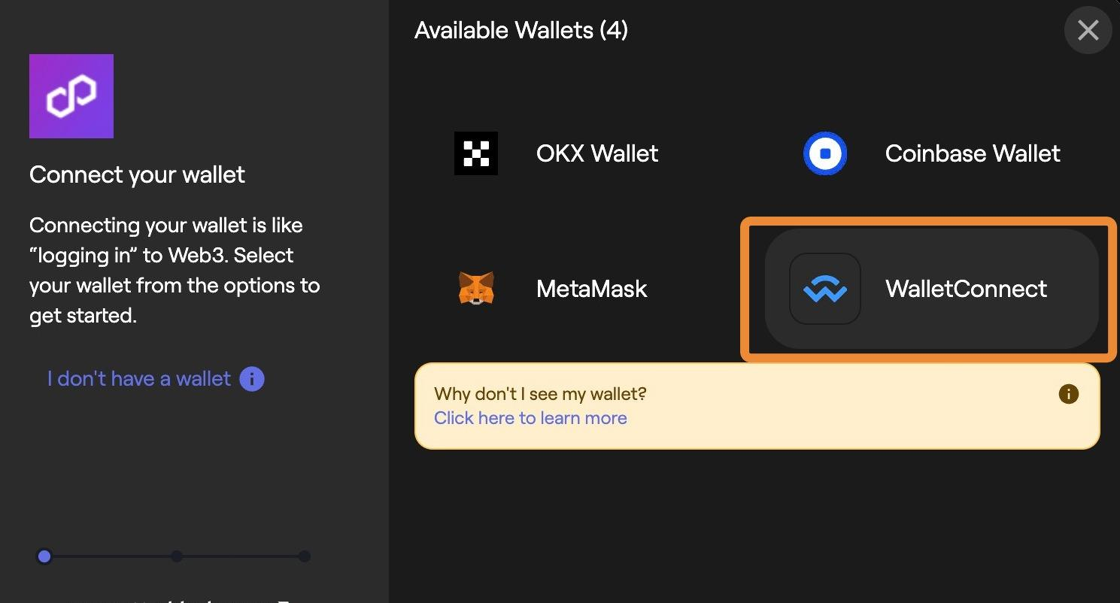
Step 5: Scan the QR Code from your Mobile device or if you are on desktop, accept the transaction to login.
Step 6: Click the "Search tokens" field.
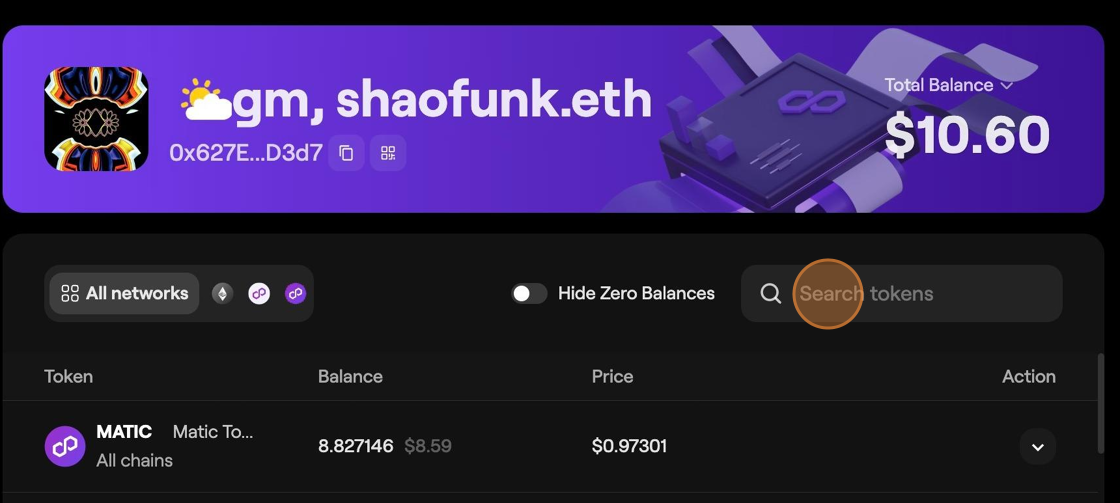
Step 7: Type "DIMO" and hit the "Enter" key
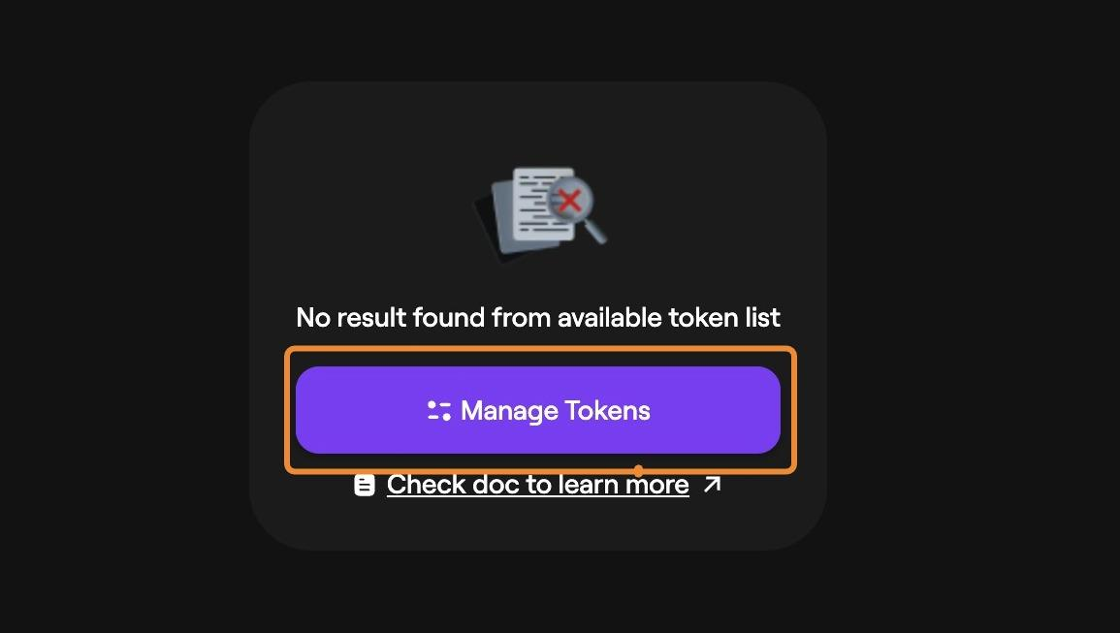
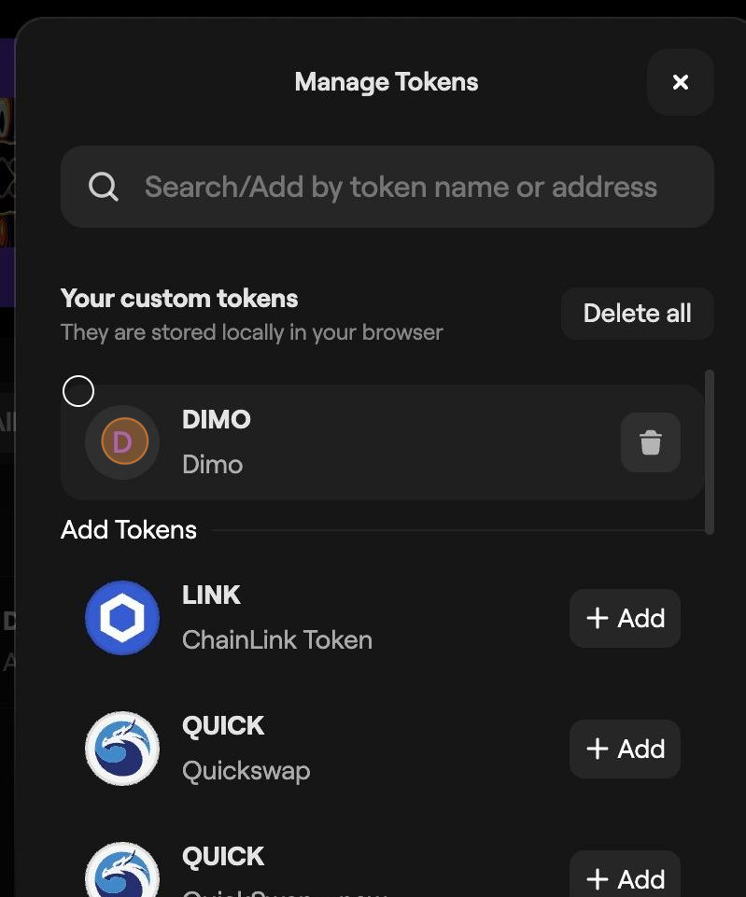
Step 8: Click "Manage Tokens"
Step 9: Type "DIMO"
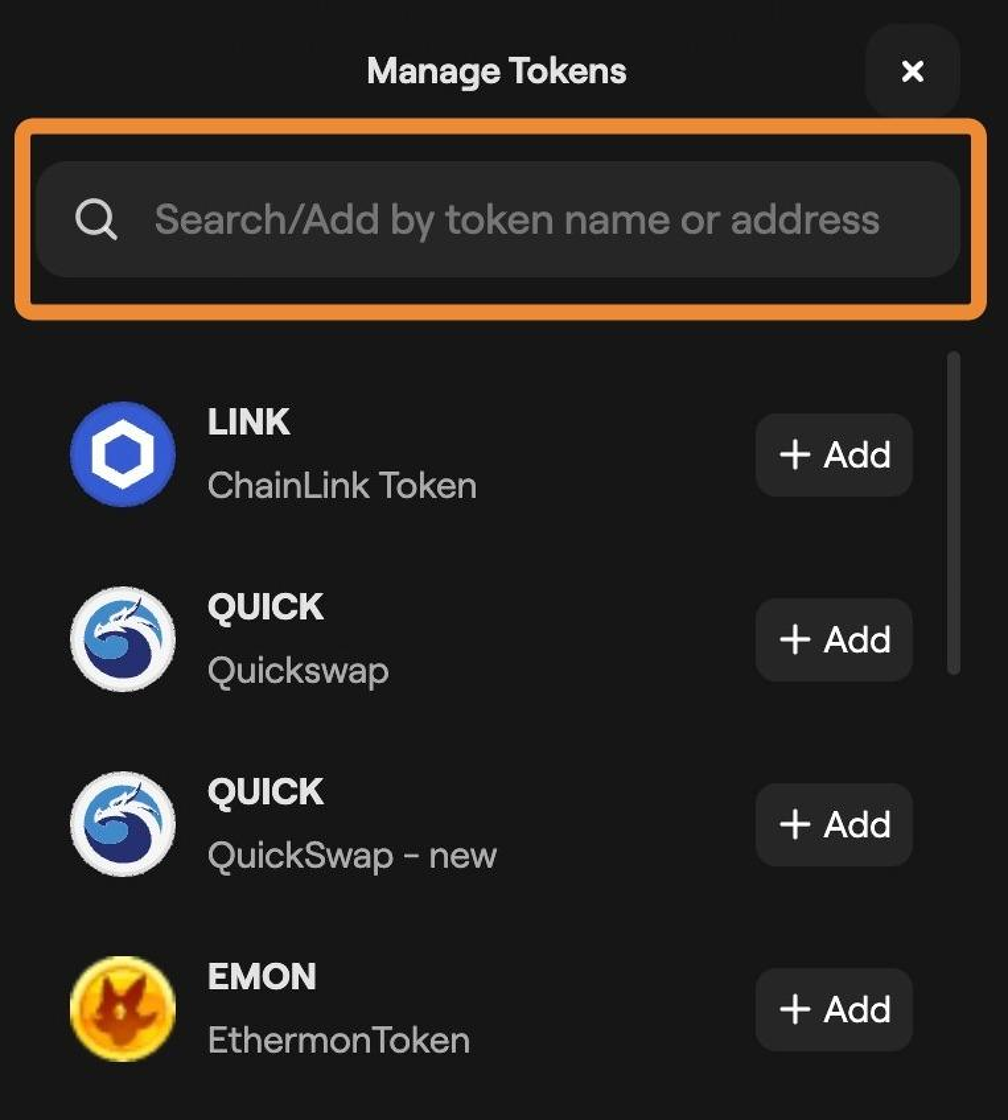
Step 10: Click the "Search/Add by token name or address" field.
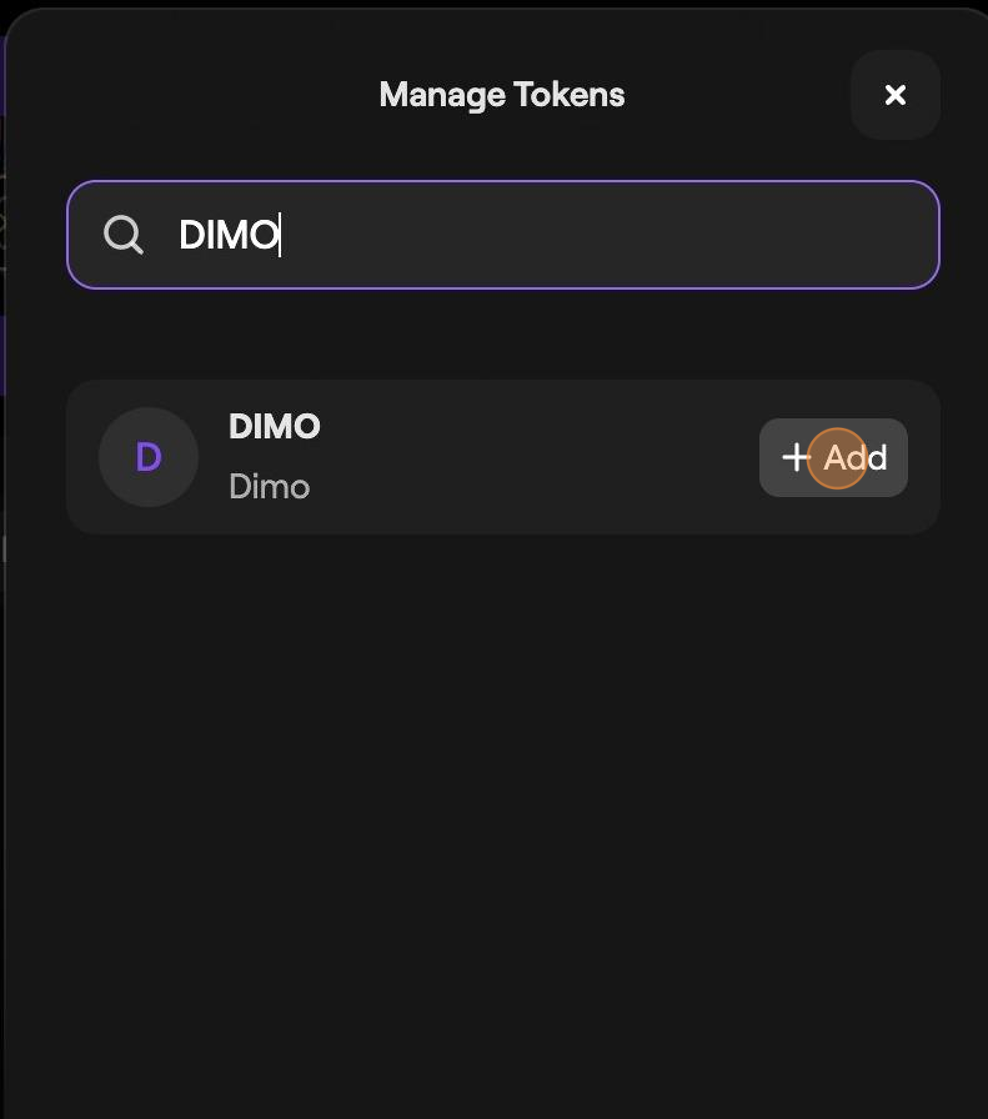
Step 11: Type "DIMO" and click "Add"
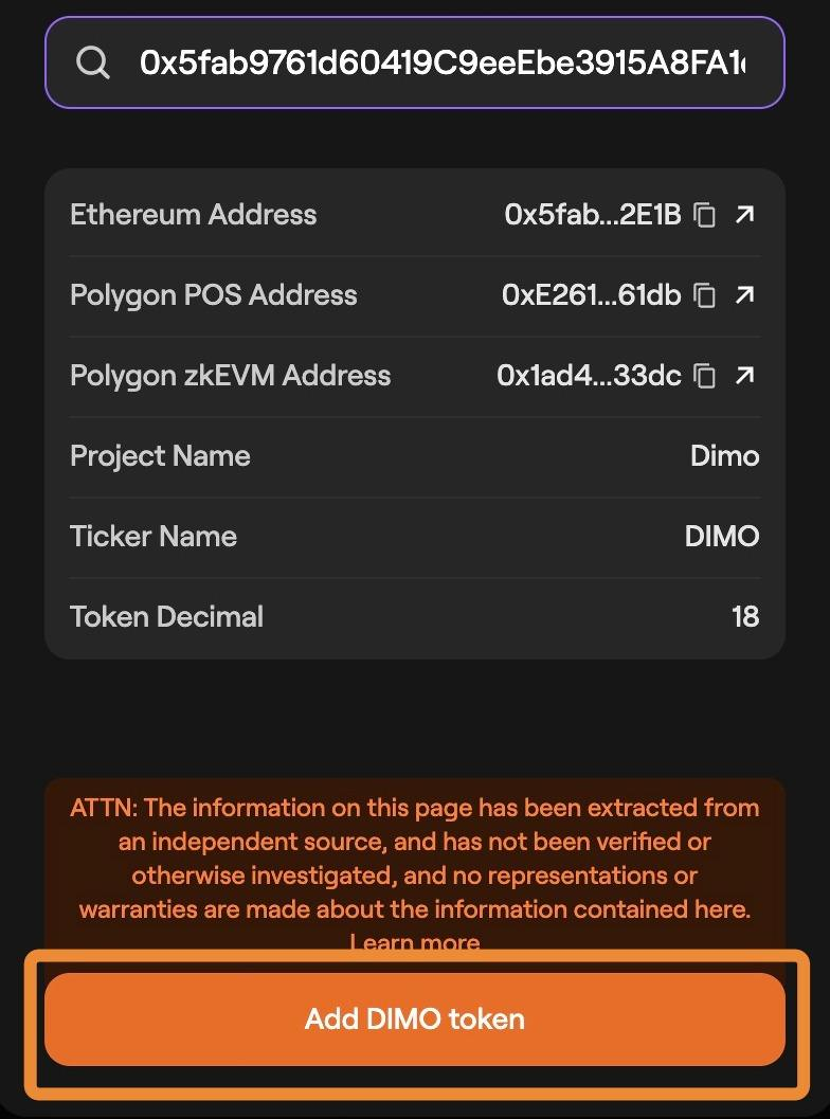
Step 12: Click "Add DIMO token"
Step 13: Select "DIMO"
Step 14: Close the "Manage Tokens" window
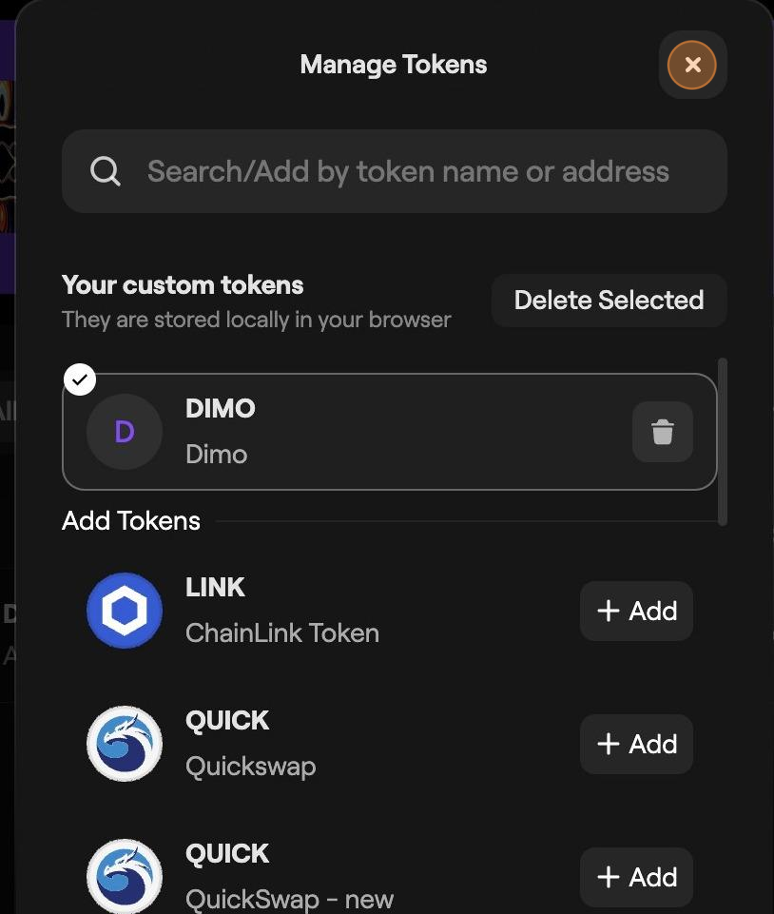
Step 15: Select "DIMO"
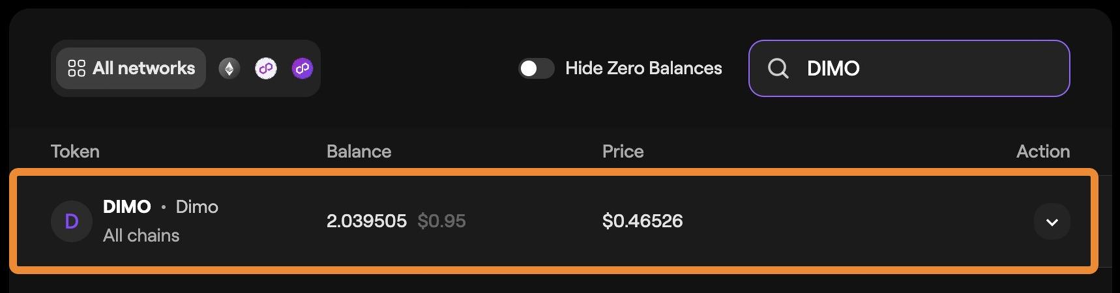
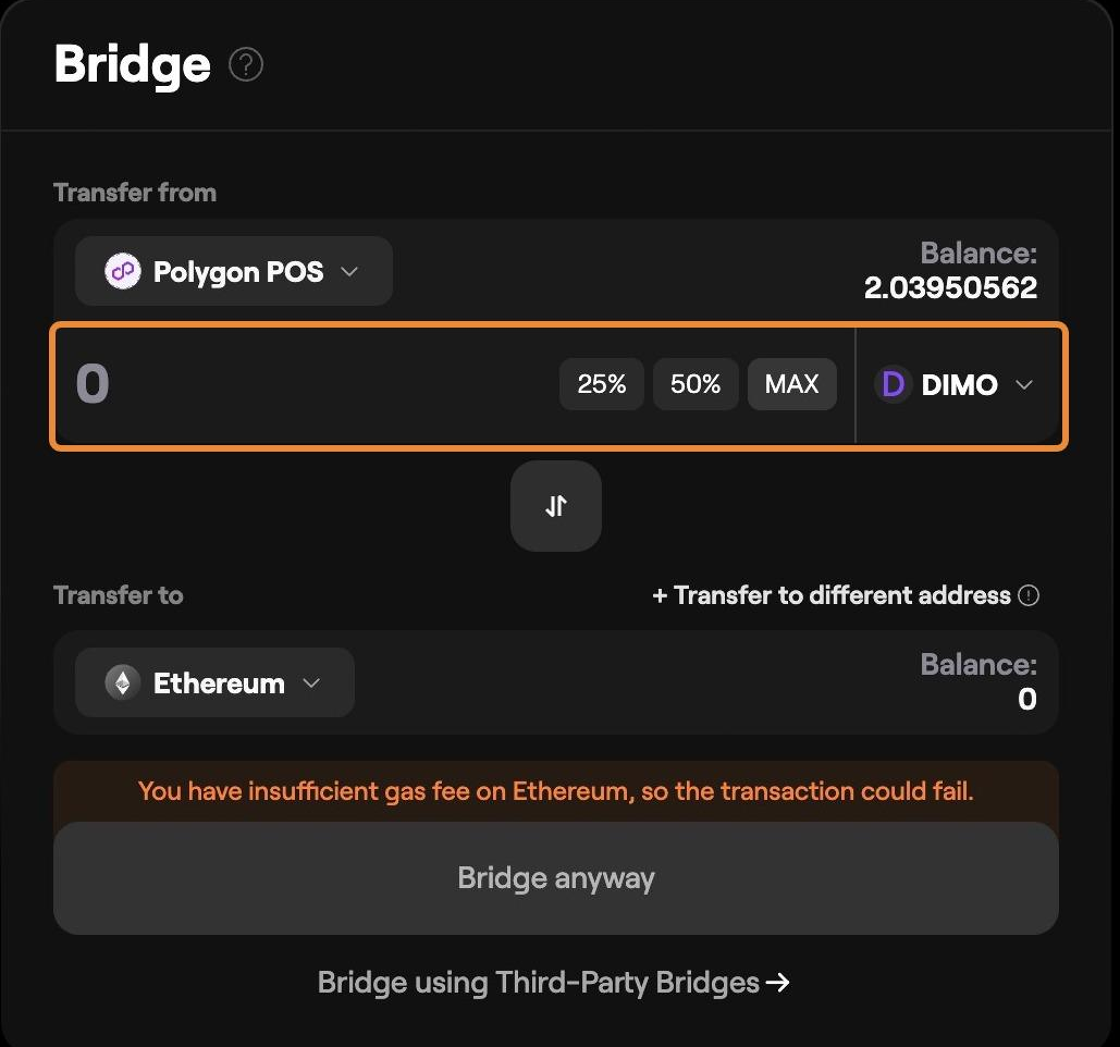
Step 16: Click "Bridge" on the Polygon POS
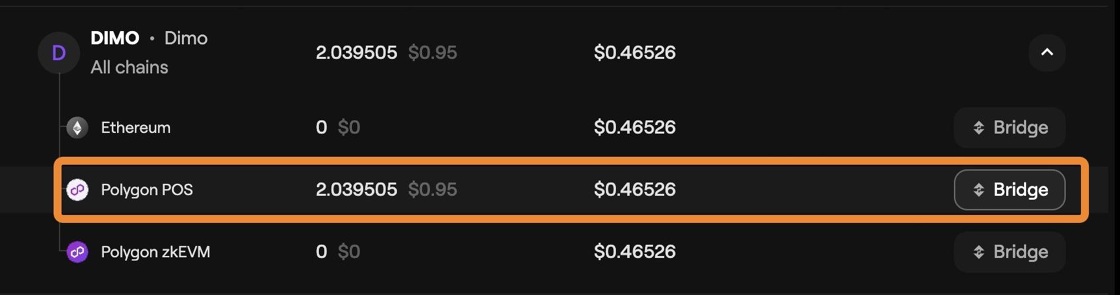
Step 17: Enter the amount of DIMO you would like to bridge
Step 18: Select "Bridge" or "Bridge anyway"
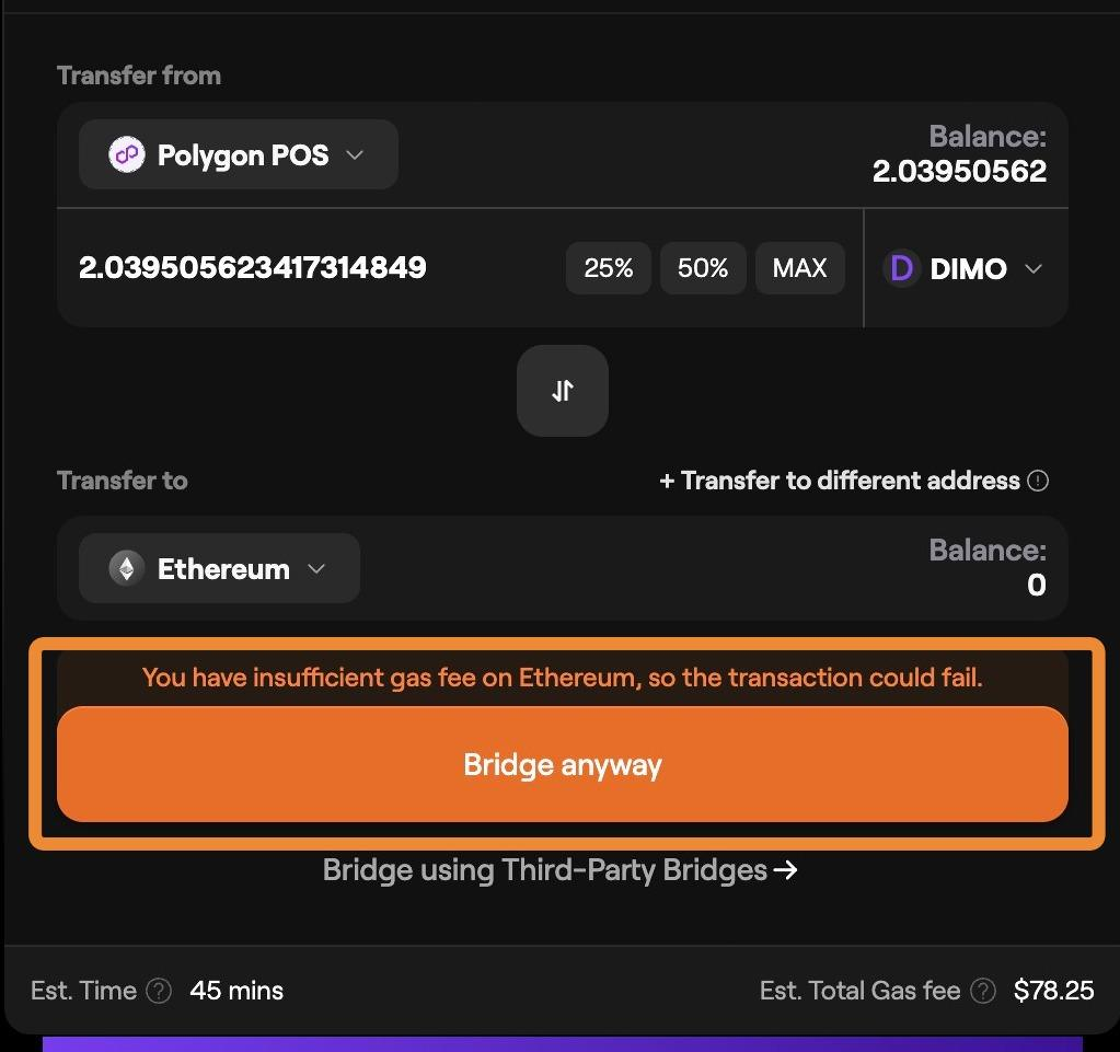
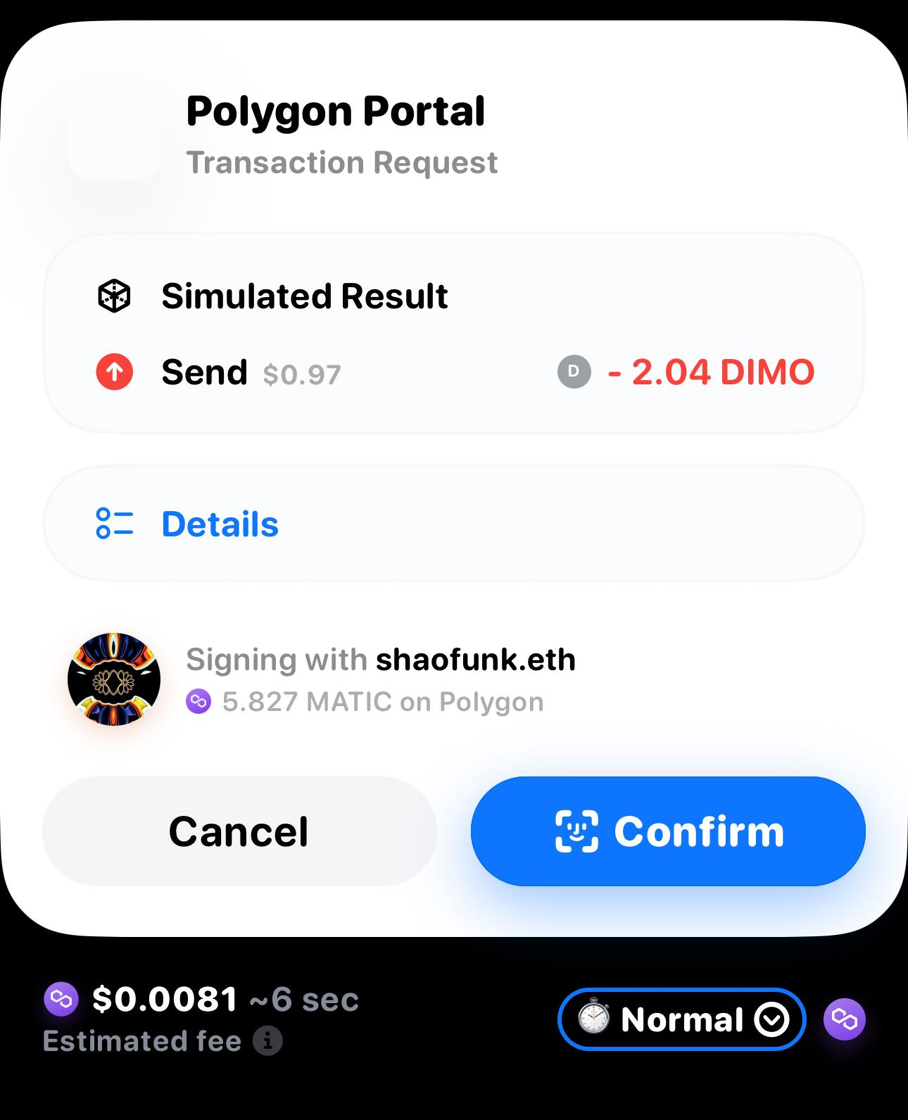
Step 19: Sign the transaction to send your Polygon DIMO to bridge (make sure you have enough Matic to cover the fees!)
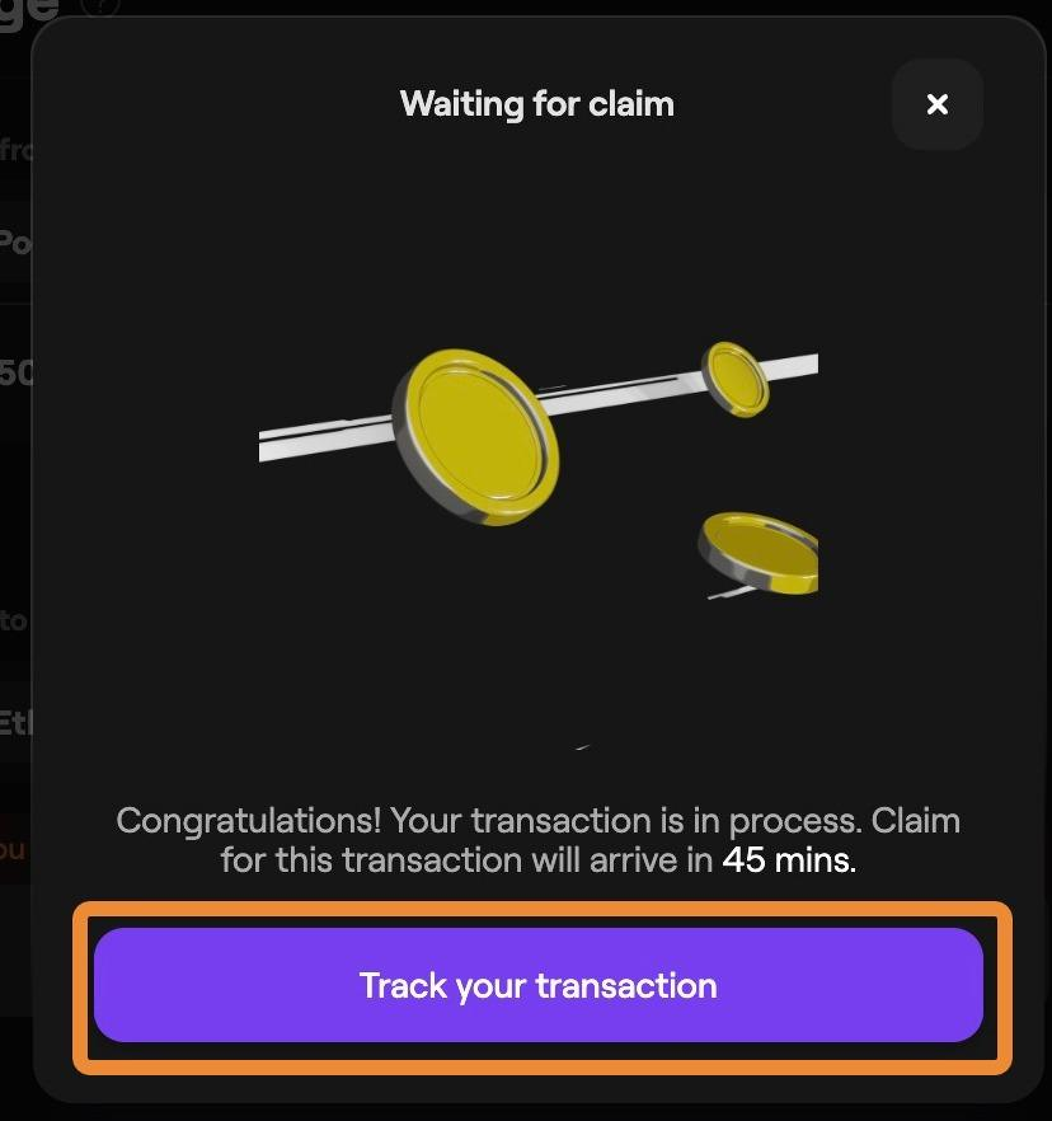
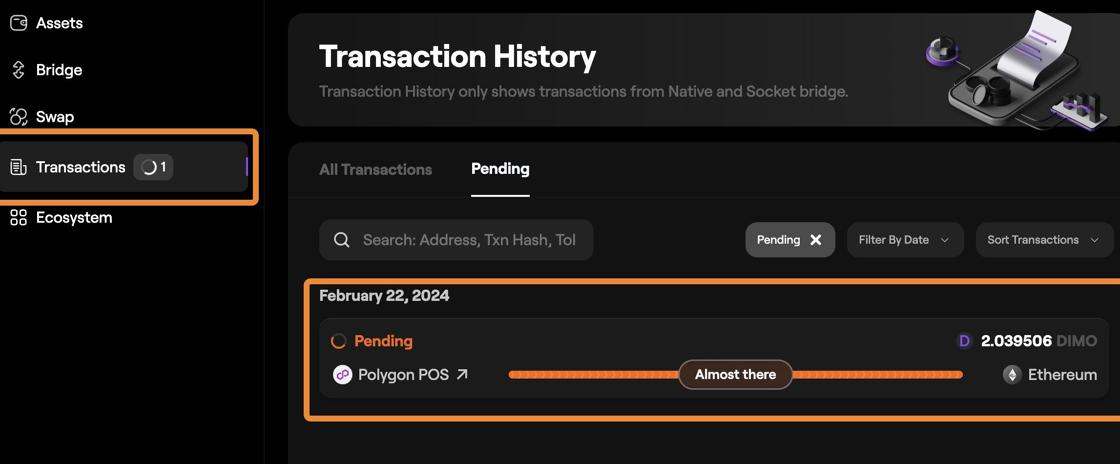
Step 20: Once submitted, you will need to wait the number of minutes listed on the "Waiting for Claim" page - click "Track your transaction" to follow along
Step 21: Under "Transactions", you will have a progress bar for when you can claim your bridged DIMO tokens
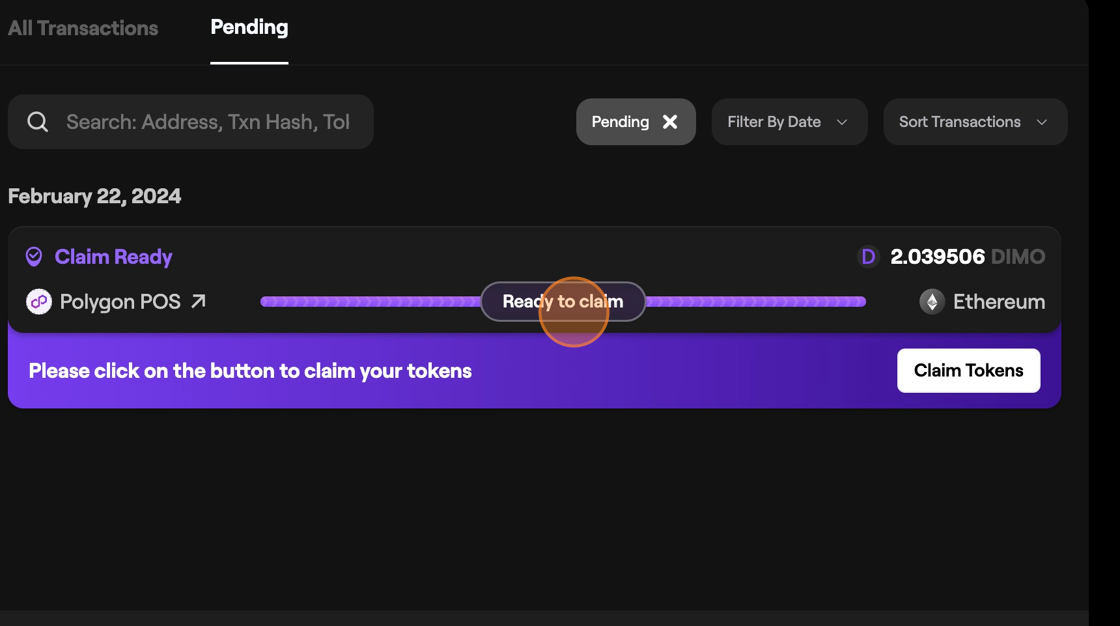
Step 22: Once your progress bar turns to "Ready to claim" select the Claim tokens button
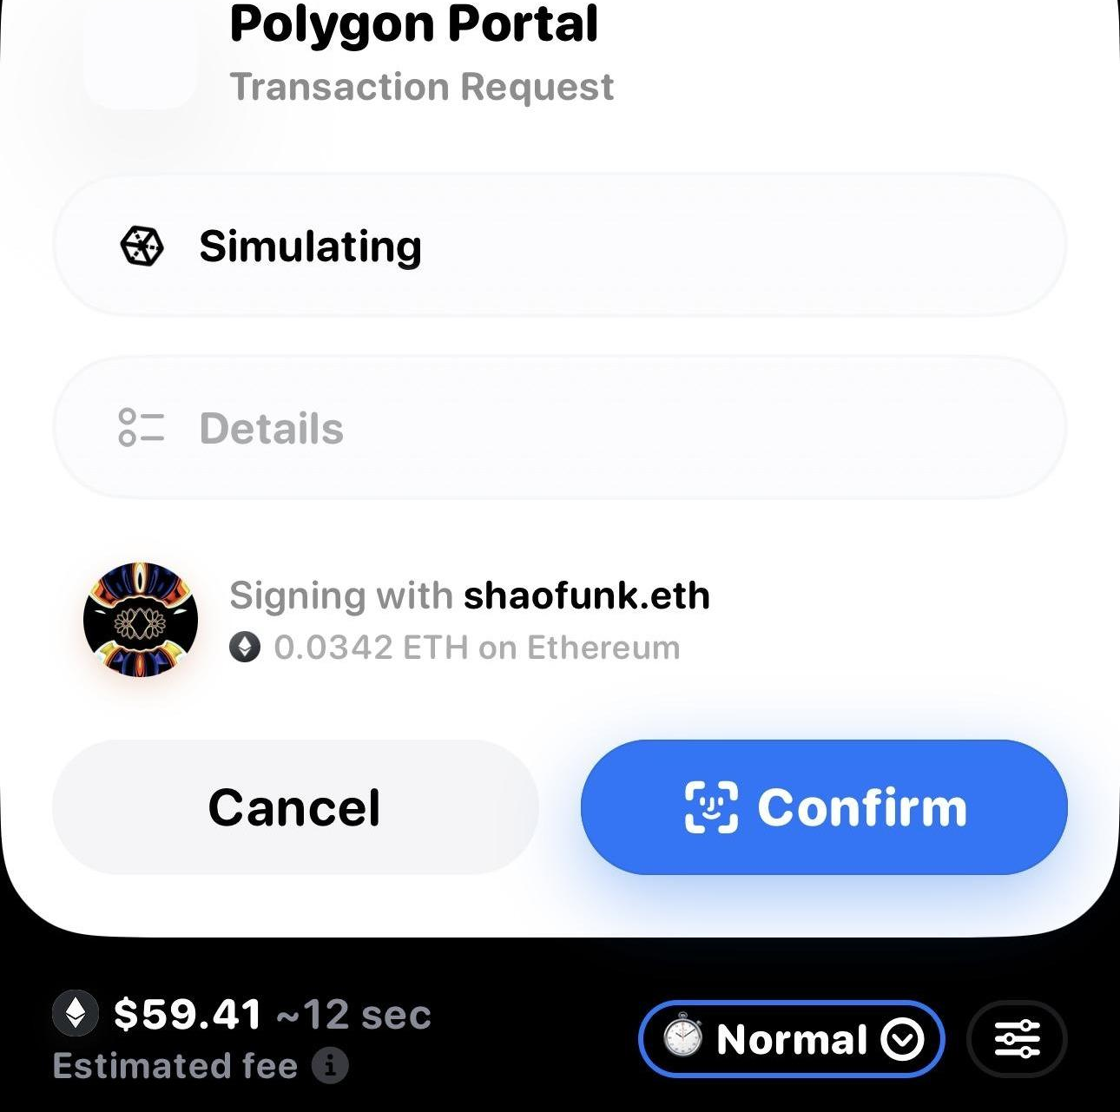
Step 23: Sign the transaction (make sure you have enough ETH to cover the gas fees!)
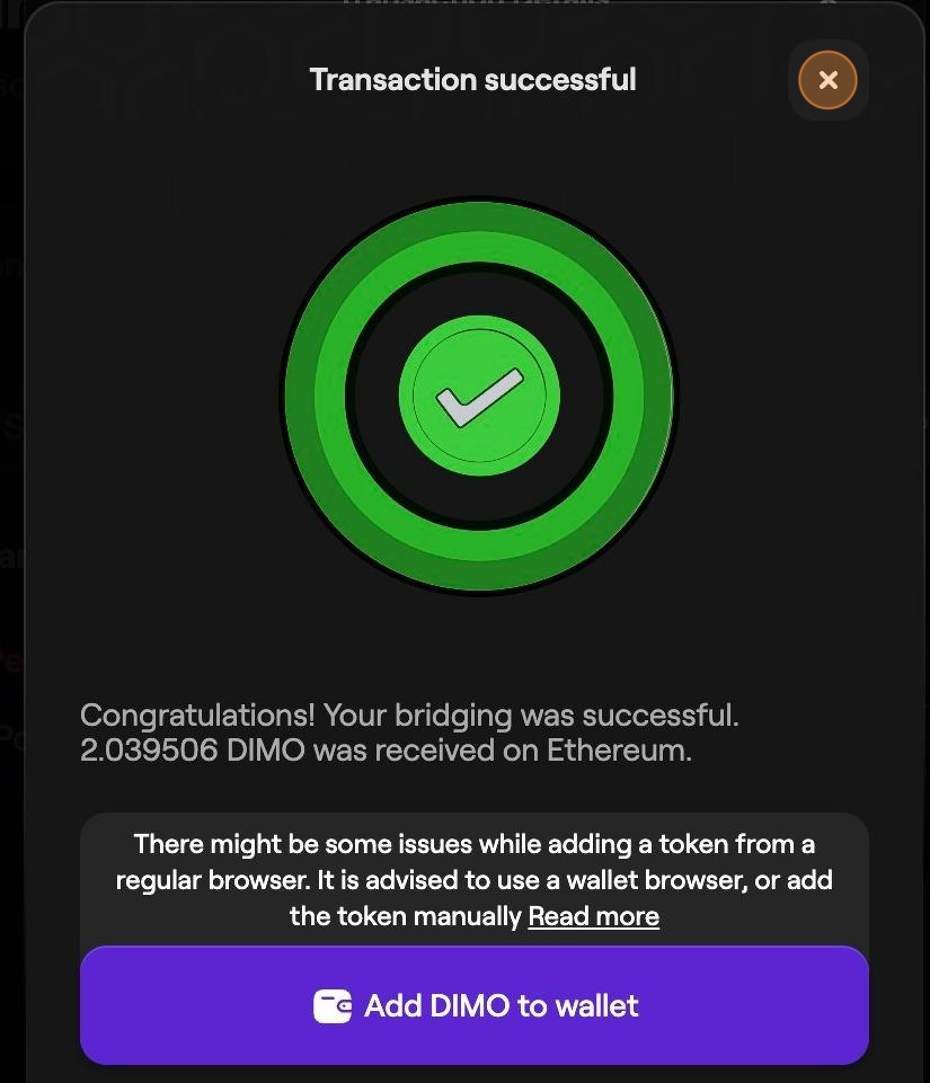
🎉 Congratulations! You have now bridged your DIMO from Polygon to Eth.
Step 24: Tap the "X" to close this window
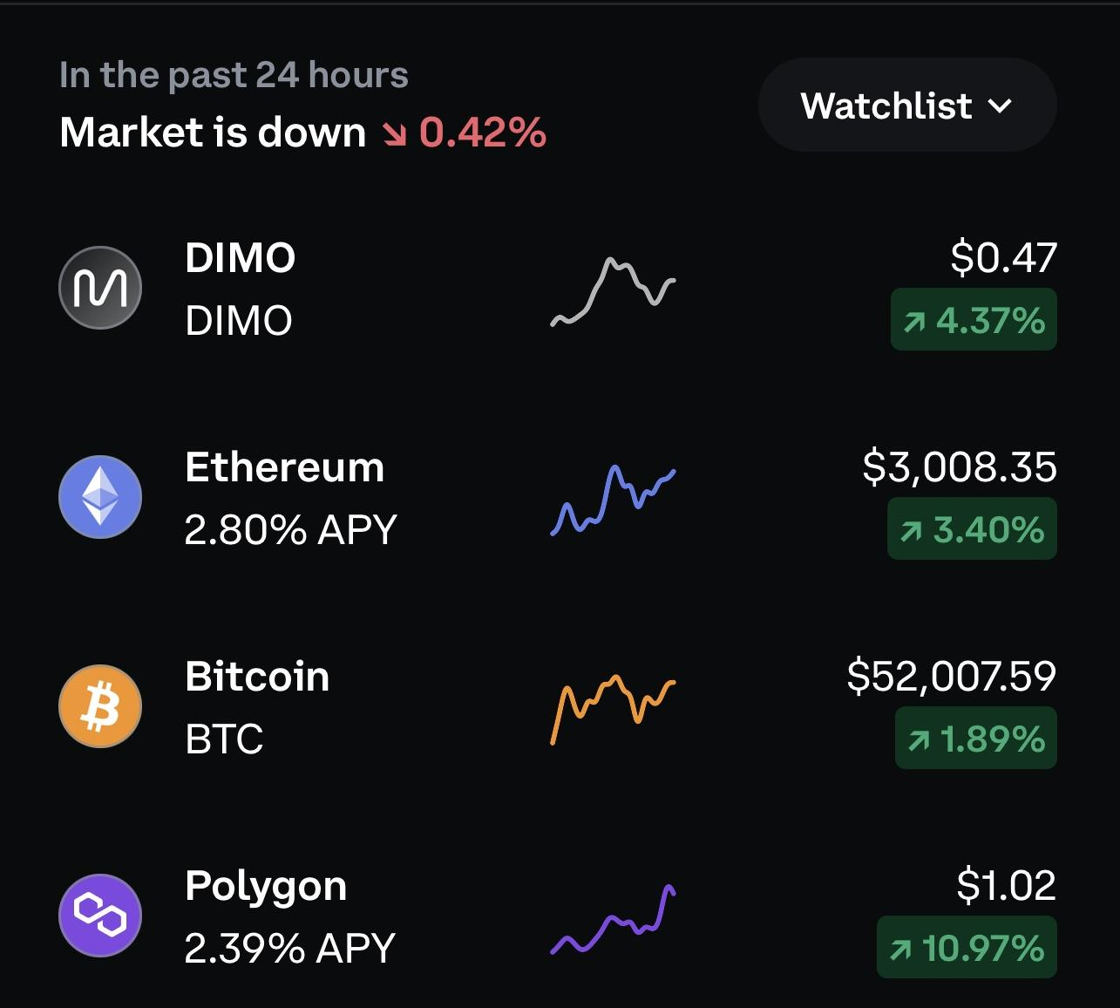
Step 25: Go to your preferred cryptocurrency exchange (in this case, Coinbase), log into your account, and find the DIMO token
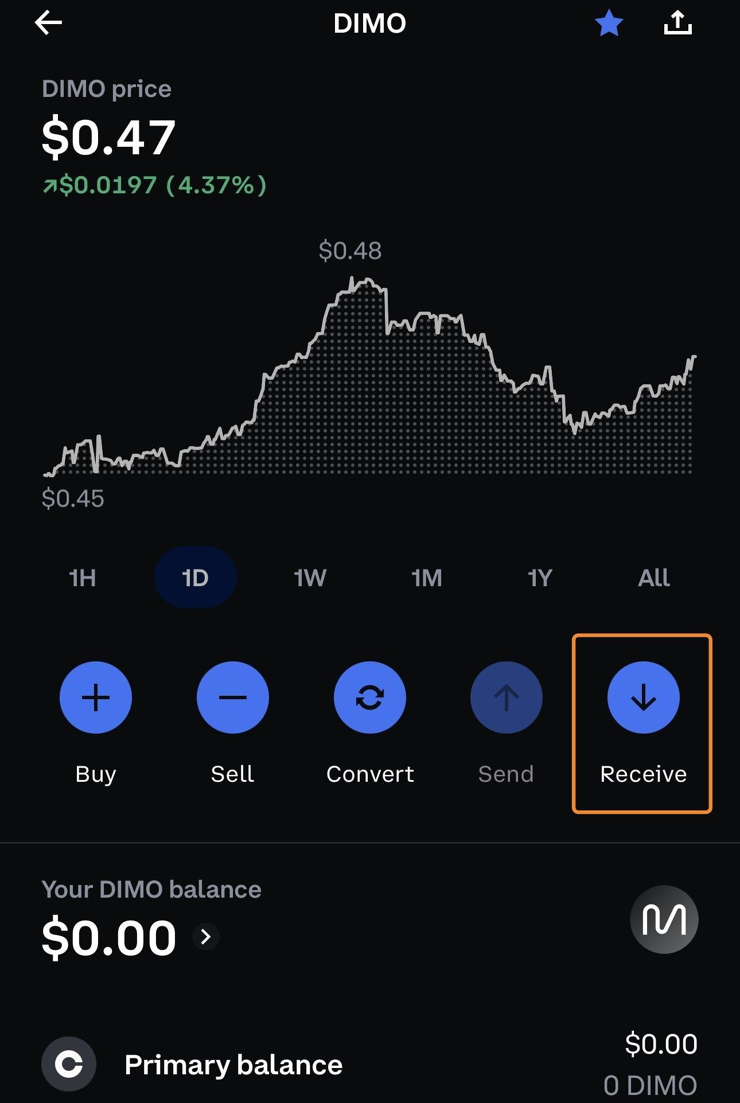
Step 26: On DIMO token, select the Receive button
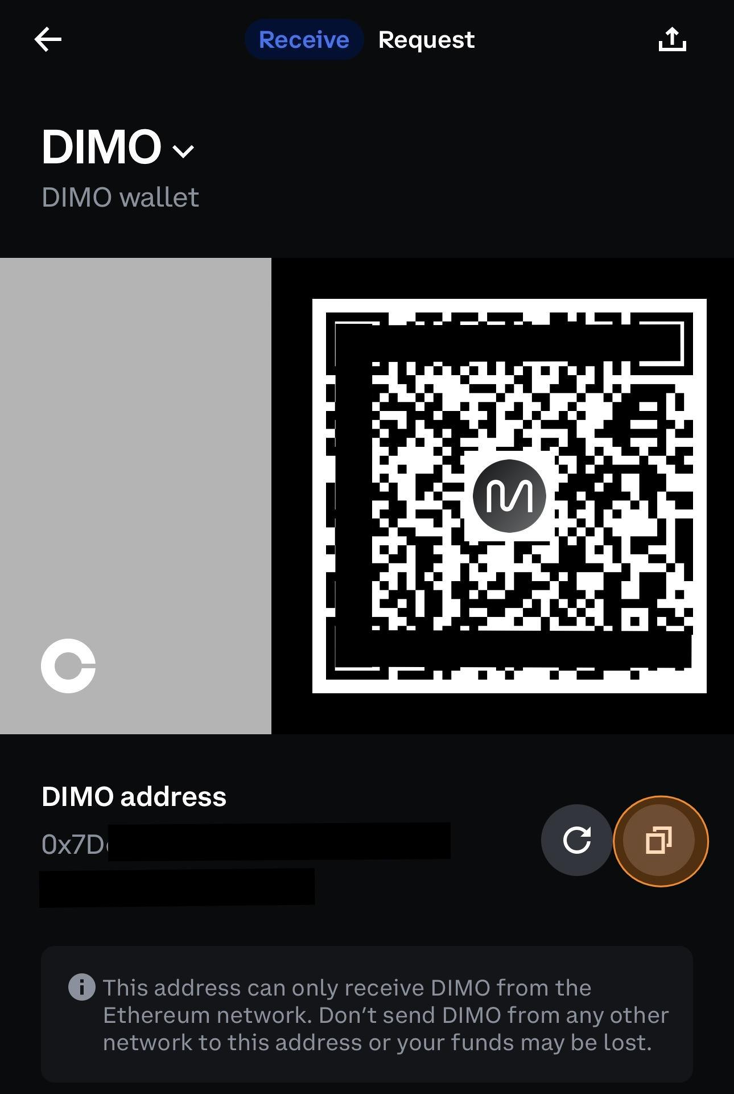
Step 27: Copy down the DIMO address for the token
Step 28: On your wallet (Rainbow in this example), select your DIMO on ETH and select "Send"

Step 29: Enter the DIMO address from the crypto exchange (Coinbase)

Step 30: Enter the amount of tokens you want to send
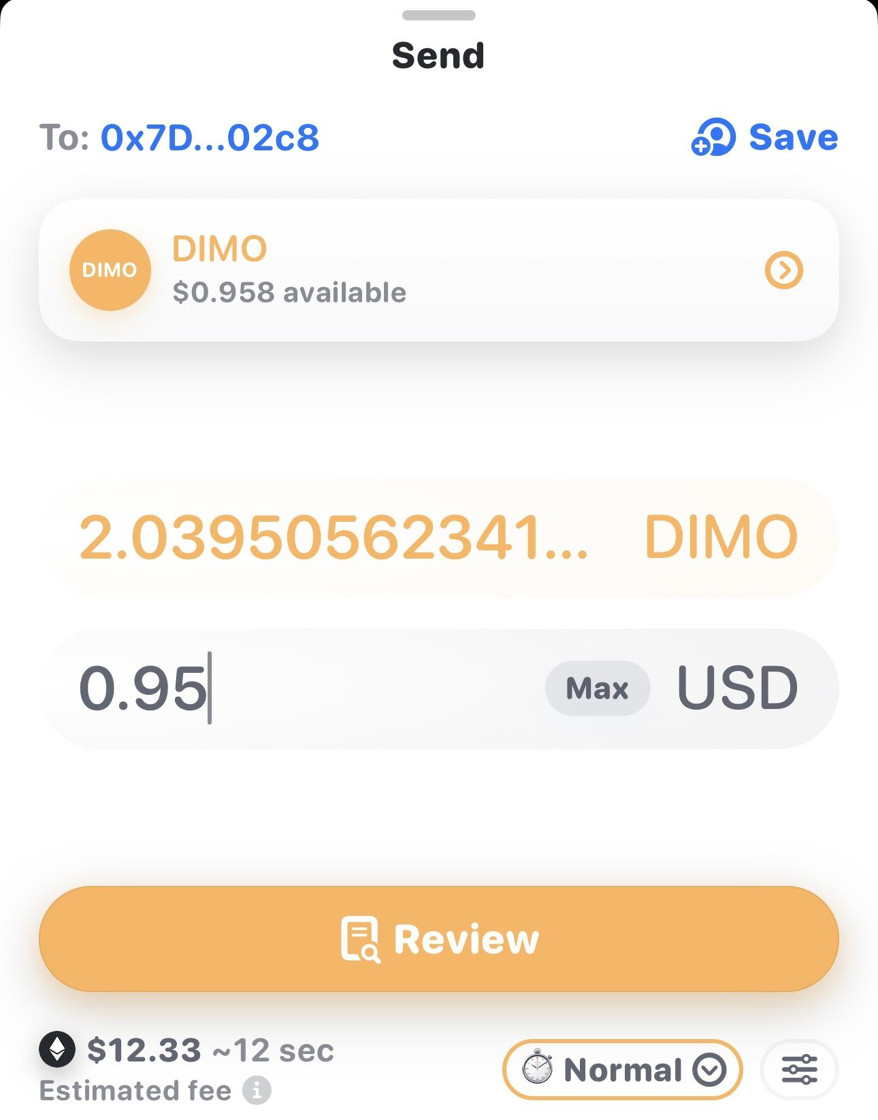
Step 31: Hold to send your tokens
🎉Congratulations! You have sent your DIMO tokens to your cryptocurrency exchange.